Silk Road: Olive Trahana

I was exposed to trahana (or, tarhana) on my recent trip to the Caucasus: a sour bulgur. “Sour, how?” you may ask. The grain is steeped in buttermilk and then dehydrated (traditionally, sun dried). I believe there are many Grecian pasta versions with similar name, and, even Lebanese (kishk). As soon as I was back to base, the grain was mail-ordered, which promptly arrived from Turkey.

I experimented with a simple, no-fuss, savory porridge. I discovered that olives and trahana is a marriage made in heaven! Was it my Asian taste-buds? I don’t know; I grew up on neither olives nor trahana. This is certainly worth a try. Enjoy!

Special tools:

None.

Ingredients

  • 1/2 cup trahana
  • a dozen shiitake mushrooms, stemmed, thinly sliced and dry roasted in wok for 2-3 minutes
  • 1 tbsp (store-bought) olive tapenade
  • 1/6 cup diced shallots/Spanish red onions
  • crushed red pepper
  • Greens: 1/4 cup chopped cilantro or parsley

Method

In a wok, soften the onions with a little oil from the tapenade jar (or just use a little olive oil). Add the tapenade and the trahana and stir till well mixed. Add 1 1/2 cups hot water, salt to taste and cover. Cook on low-medium for 20 minutes till the water is absorbed. Let rest for 5 mins (the grains will absorb some more moisture). Mix in the mushrooms and greens.

Serve hot with a dash of crushed red pepper and some tapenade.

Notes, hints, tips:
  1. Note that there is a sweet version of (Turkish) trahana too. Make sure that for this dish, you are using the savory (sour) version.
  2. I use shiitake for some texture and earthiness. I used the stems of the shiitake to make the broth to cook the grains: rough-chop the stems and throw them into the heating water. In fact, I did not even filter out the stems when using the broth/hot water to cook the grains.
  3. You can add other veggies of your choice for texture, color, taste. To retain their identity and character, I recommend folding them in at the end, rather than cooking together with the grain.
  4. The wide mouth of the wok helps in cooking the grain effortlessly, without stirring frequently etc.
  5. I tried a thinly shaved cheese (Manchego) topping that went well too. Perhaps not as magical as the olive tapenade.
  6. The trahana becomes naturally creamy. You can control the final texture by controlling the level of moisture that remains in the end.

A quick, complete meal with tarhana. The purists may be taken aback with the use of sardines. Quite delicious!
The same recipe as above, with additional 1 tbsp Ottoman spice-mix + 2 tbsp EVOO. Finally added 120 g can of sardines and mixed well.

Honeynut Squash: Easy Petit-Dumplings

Gnocchi is an Italian dumpling made with flour and a mainstay ingredient (usually potatoes) and another usual suspect, egg. Poached in water and dressed in a light sauce, it is an absolutely delicious pasta. Italians, take a bow!

Gnocchi-making takes some expertise. The flour in the classical gnocchi plays a vital structural role for handling and shape-retention (with egg) in the unforgiving boiling water.

I present here a friendly version that you can knead simply, roll, cut and shape. I strike out the egg and cut the flour down to absolute minimum (just enough to absorb the excess moisture). And, just microwave (instead of poaching) to retain the delicate shape of the dumplings. With squash as the only ingredient -and, potatoes as the invisible delivery agent-, the pristine honeynut, with a dab of EVOO, shines. Enjoy!

Special tools:

Food processor; potato masher or ricer.

Ingredients

  • 1 honeynut squash halved lengthwise and the internal pulp and seeds removed
  • 3-4 small potatoes
  • 1/4 cup flour (buckwheat)
  • Seasoning: salt and pepper to taste
  • Dressing: EVOO and sea salt

Method

Place the halved honeynut squash with the cut side up on a baking tray. Brush with EVOO. Roast at 400 F for 30 mins. Run the squash, with skin, in the processor.

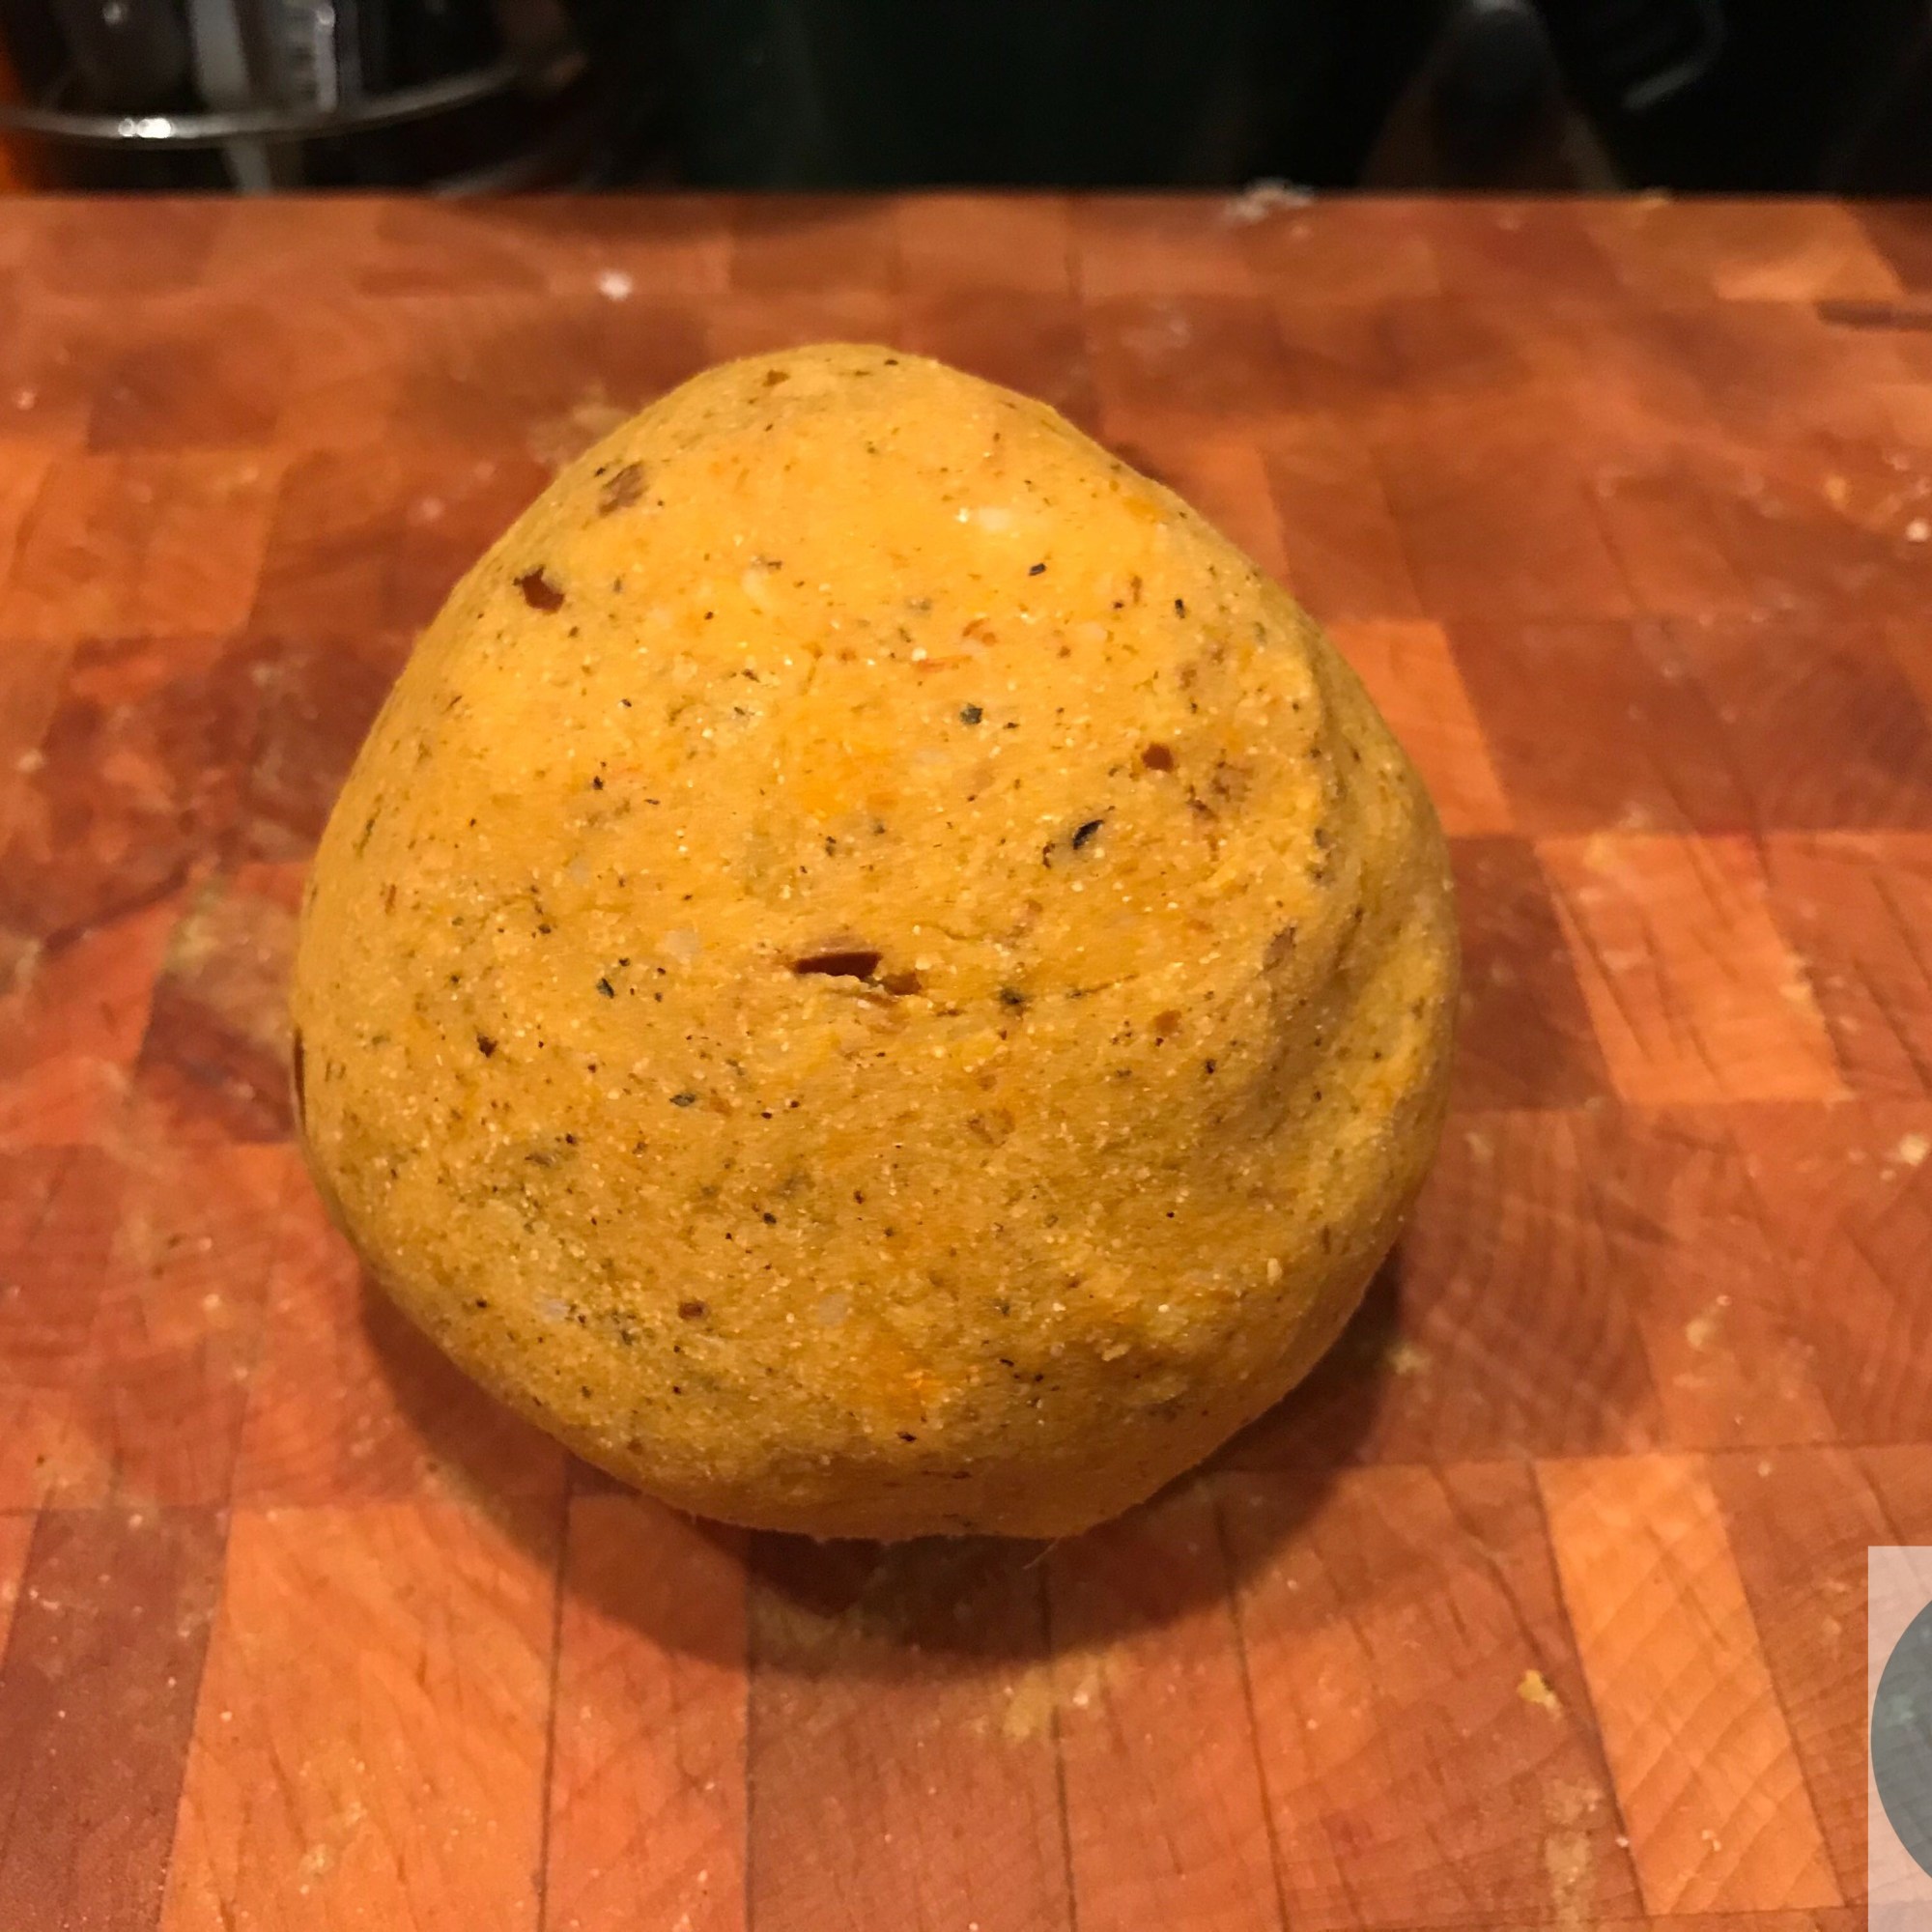
Wrap the potatoes in damp kitchen paper and microwave for 4 minutes; peel and mash while still warm, mixing in the processed squash. Add the seasoning and the flour to knead lightly. Cut the dough into four equal-sized pieces. Roll each piece into a rope of 1/2 inch thickness and cut into (roughly) 20 little cylinders. Lightly mark with a fork. Place on a platter and refrigerate till ready to cook.

Cover with damp kitchen towel and microwave 20 at a time for 1 minute. Mix lightly in the dressing and serve.

Notes, hints, tips:
  1. The recipe makes 20 X 4 = 80 gnocchis.
  2. Using buckwheat flour and omitting the eggs gives gluten-free, vegan dumplings.
  3. If the squash is hard to cut, microwave for 2 minutes or so till it just softens enough for the knife to run through.
  4. The skin of the squash will be in bits but not completely pulverized. if you don’t like this texture, you can remove the peel. My recommendation is to use the peel: it breaks the monotony of a smooth texture. Also, the peel has more nutrients than the interior flesh.
  5. I used buckwheat flour, but you can use regular white flour. And, even an egg.
  6. Even just EVOO makes this little gnocchis irresistible. But you could use other elaborate sauces of your liking.
  7. See the Honeynut Squash Mousse, for an alternative treatment. Simple too.

Silk Road: Beet-Herbs Stuffed Black-&-White Flatbread

My dream is to go caravenserai-hopping along the Silk Road, savoring the flavors our ancestors deemed worthwhile to share with neighbors. This wish came partially true with my recent trip to Armenia.

I think it is a sacrilege to mess with classic recipes; but I cannot not give a modern twist. So here goes my “black & white” version using a current fad, activated charcoal. The Armenian Jingalov hat -herbs stuffed unleavened bread- is perhaps the precursor to the Indian stuffed paratha. I use here the whole wheat durum flour (atta), instead of white flour. Also in the stuffing, I throw in some golden beet pulp. These turned out scrumptious, barely making it out of the skillet onto the serving platter.

Special tools:

Rolling pin and board; iron skillet.

Ingredients

  • Stuffing: 1/2 cup beet pulp + 1/4 cup each of finely chopped scallions, finely minced mint, cilantro + onion powder + salt + red pepper
  • White dough: 1 cup atta + salt + water
  • Black dough: 1 cup atta + 1 tsp charcoal powder + salt

Method

Make the two soft doughs separately. Rest them for 15-30 minutes. Divide each dough into five equal-sized balls. Take one of white and the black ball– flatten them jointly into a disc approximately 6 inches in diameter. Place about 1/2 loose cup of stuffing in the center. Gather the edges, seal and gently roll thin (about 1/2 cm thick). Use generous amounts of bench flour to make it easy to handle. Brush off excess flour from the bread before cooking.

Notes, hints, tips:
  1. The classic recipe uses only herbs for stuffing; you can use other greens as well. I used the beet pulp — the leftovers from the cold pressed beet juice– since it is dry enough to be a stuffing. You can use the juice for other drinks.
  2. The dough should be really soft to handle. It is better to err on the softer side; since the resulting bread will also be soft.
  3. You can use a dry skillet to cook the bread, or, if you like in a paratha style — to use a little oil on the skillet.
  4. The charcoal powder is food grade, apparently in the superfood category these days. It does not impart any taste– just a black color that you can use to your advantage.

Nuts Bar

Sweet, delicate, exquisite as the snowflakes of (Bolshoi) Nutcracker! Use as breakfast bar, your travel bar or simply a snack bar.

The recipe is adapted from Pamela Ellegan’s book on dehydrating. Lest a dehydrator is not in your toolbox, I use the oven here by conflating with the technique from Norwegian knekkebrød.
[Do scroll down to check out all the awesome varieties of bar formulae that I have added.]

Nuts Cracker Bar
Special tools:

Food processor; silicone silpat; oven.

Ingredients

  • Nuts soaked overnight for 6 hrs: 1/2 cup pecans + 1/2 cup hazelnuts with 1/2 tsp Himalayan sea salt in plenty of water
  • Seeds: 1/2 cup whole pepitas or sunflower seeds + 1/2 cup flaxseed meal
  • Sweetening tignum : 1/2 cup pitted dates soaked in water for 30 mins

Method

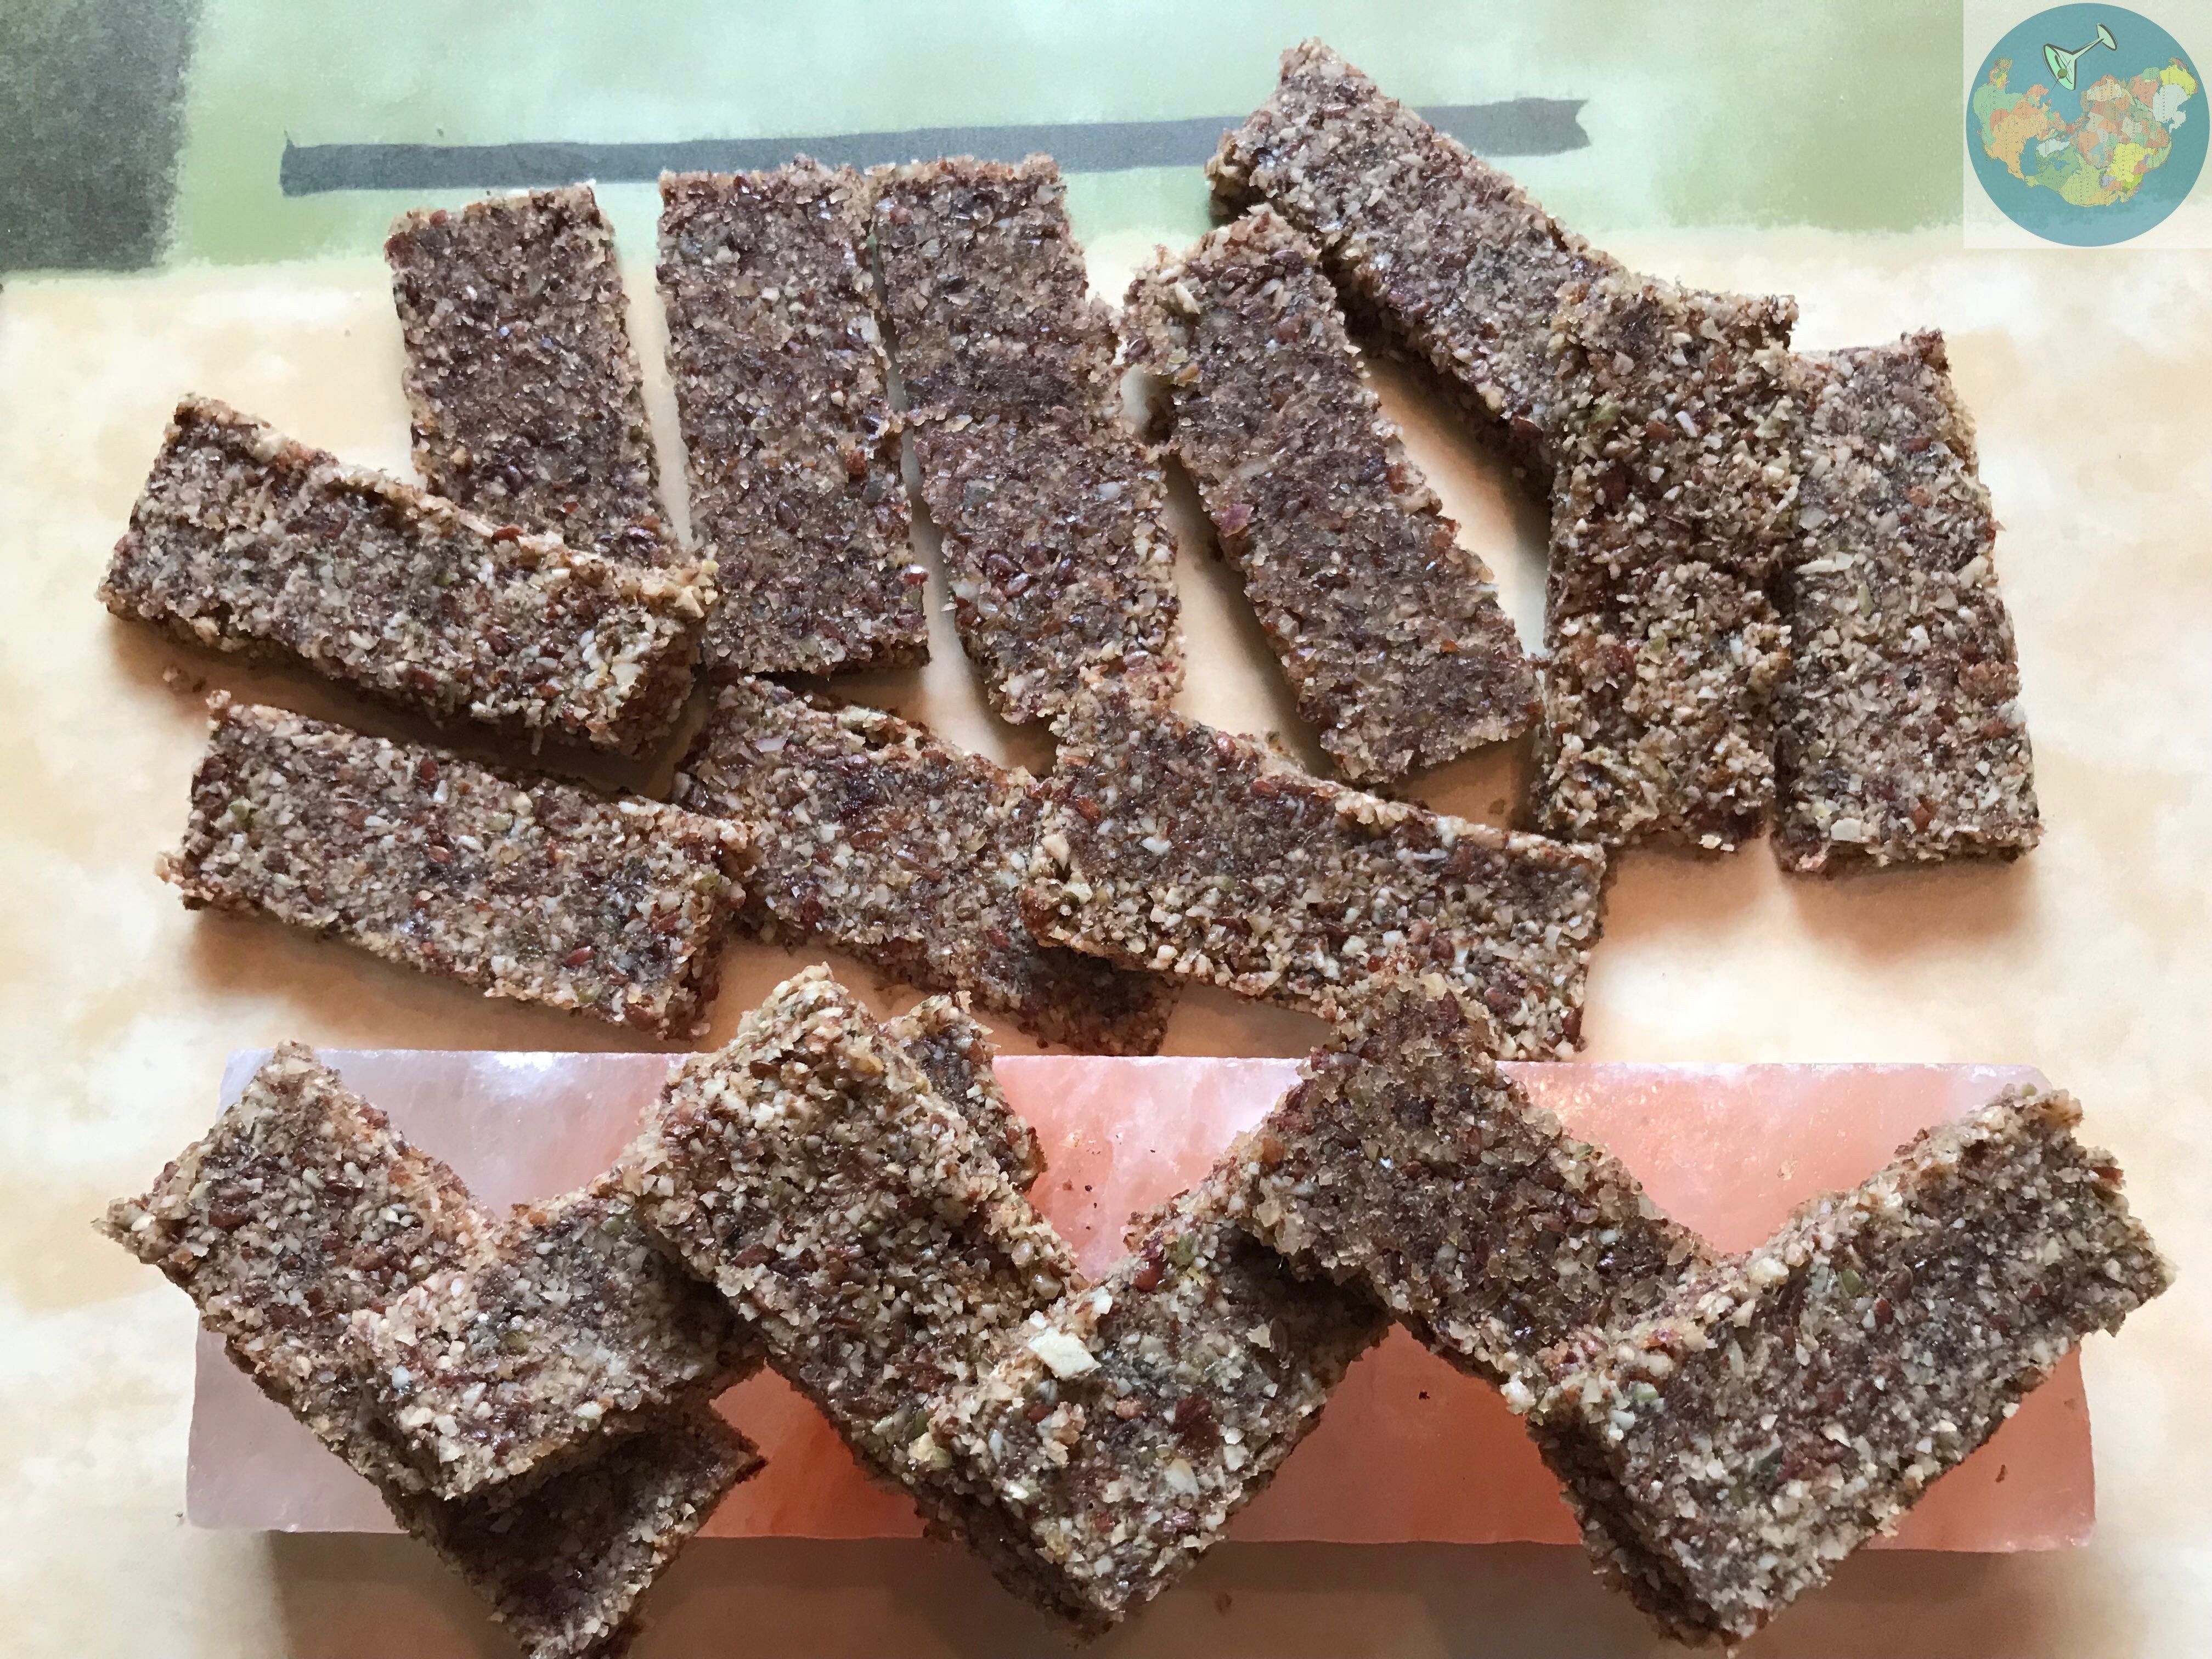
Drain all the soaking ingredients. (Note the flaxseed is not whole.) Save the draining liquid of the dates. Run all the ingredients in a processor, adding the date liquid gradually, till it holds together lightly. Then spread it thin on the silicon mat with the spatula of the processor to a rectangle approximately 8 inches X 10 inches. Score lines on it. Place on a wire rack and bake at 175 F for 1 1/4 hours. Remove from the oven and let cool on the rack. Makes 32 bars.

Notes, hints, tips:
  1. I place a lid (parchment paper) just on the surface of the water to ensure that all of the nuts are constantly submerged. I attribute this ingenious technique to the Japanese, although you may be more familiar with it as cartouche (a French term that is more popular, thanks to the world history of the last few centuries).
  2. Let the bars dry thoroughly, although quite tempting to have them right away: it may be a little sticky to the teeth. When completely dry, they don’t stick.
    I am in the hunt for an even better binder than dates, albeit with equally good-health endorsements and ready-to-consume sans cooking characteristic.
  3. Feel free to bake longer, for a crispier effect.
  4. I soaked the nuts in the morning; baked in the evening and let it cool overnight.

Garbanzo Bar: Here is a bar that uses legume (garbanzo) instead of the nuts.
1 cup cooked garbanzo (not mushed) + 1/2 cup sunflower seeds + 1/2 cup psyllium meal + 1/2 cup dates soaked in water for 30 minutes + a dash of vanilla
Process as the recipe above adding the liquid of the soaking dates till it holds together. Spread thin in a silicon mat and place on a wire rack. Bake at 175 F for 2 hrs. Check after the first hour and then every 30 mins. Let cool overnight. 

Beet Bar: Here is a bar that uses beet pulp from the juicer and beet juice. Absolutely addictive, I promise!
I am told that soaking the raw (not toasted) nuts and seeds with a little salt activates them, making them easier to digest and absorb. In general use 1/2 tsp Himalayan salt for 1 cup nuts/seeds.
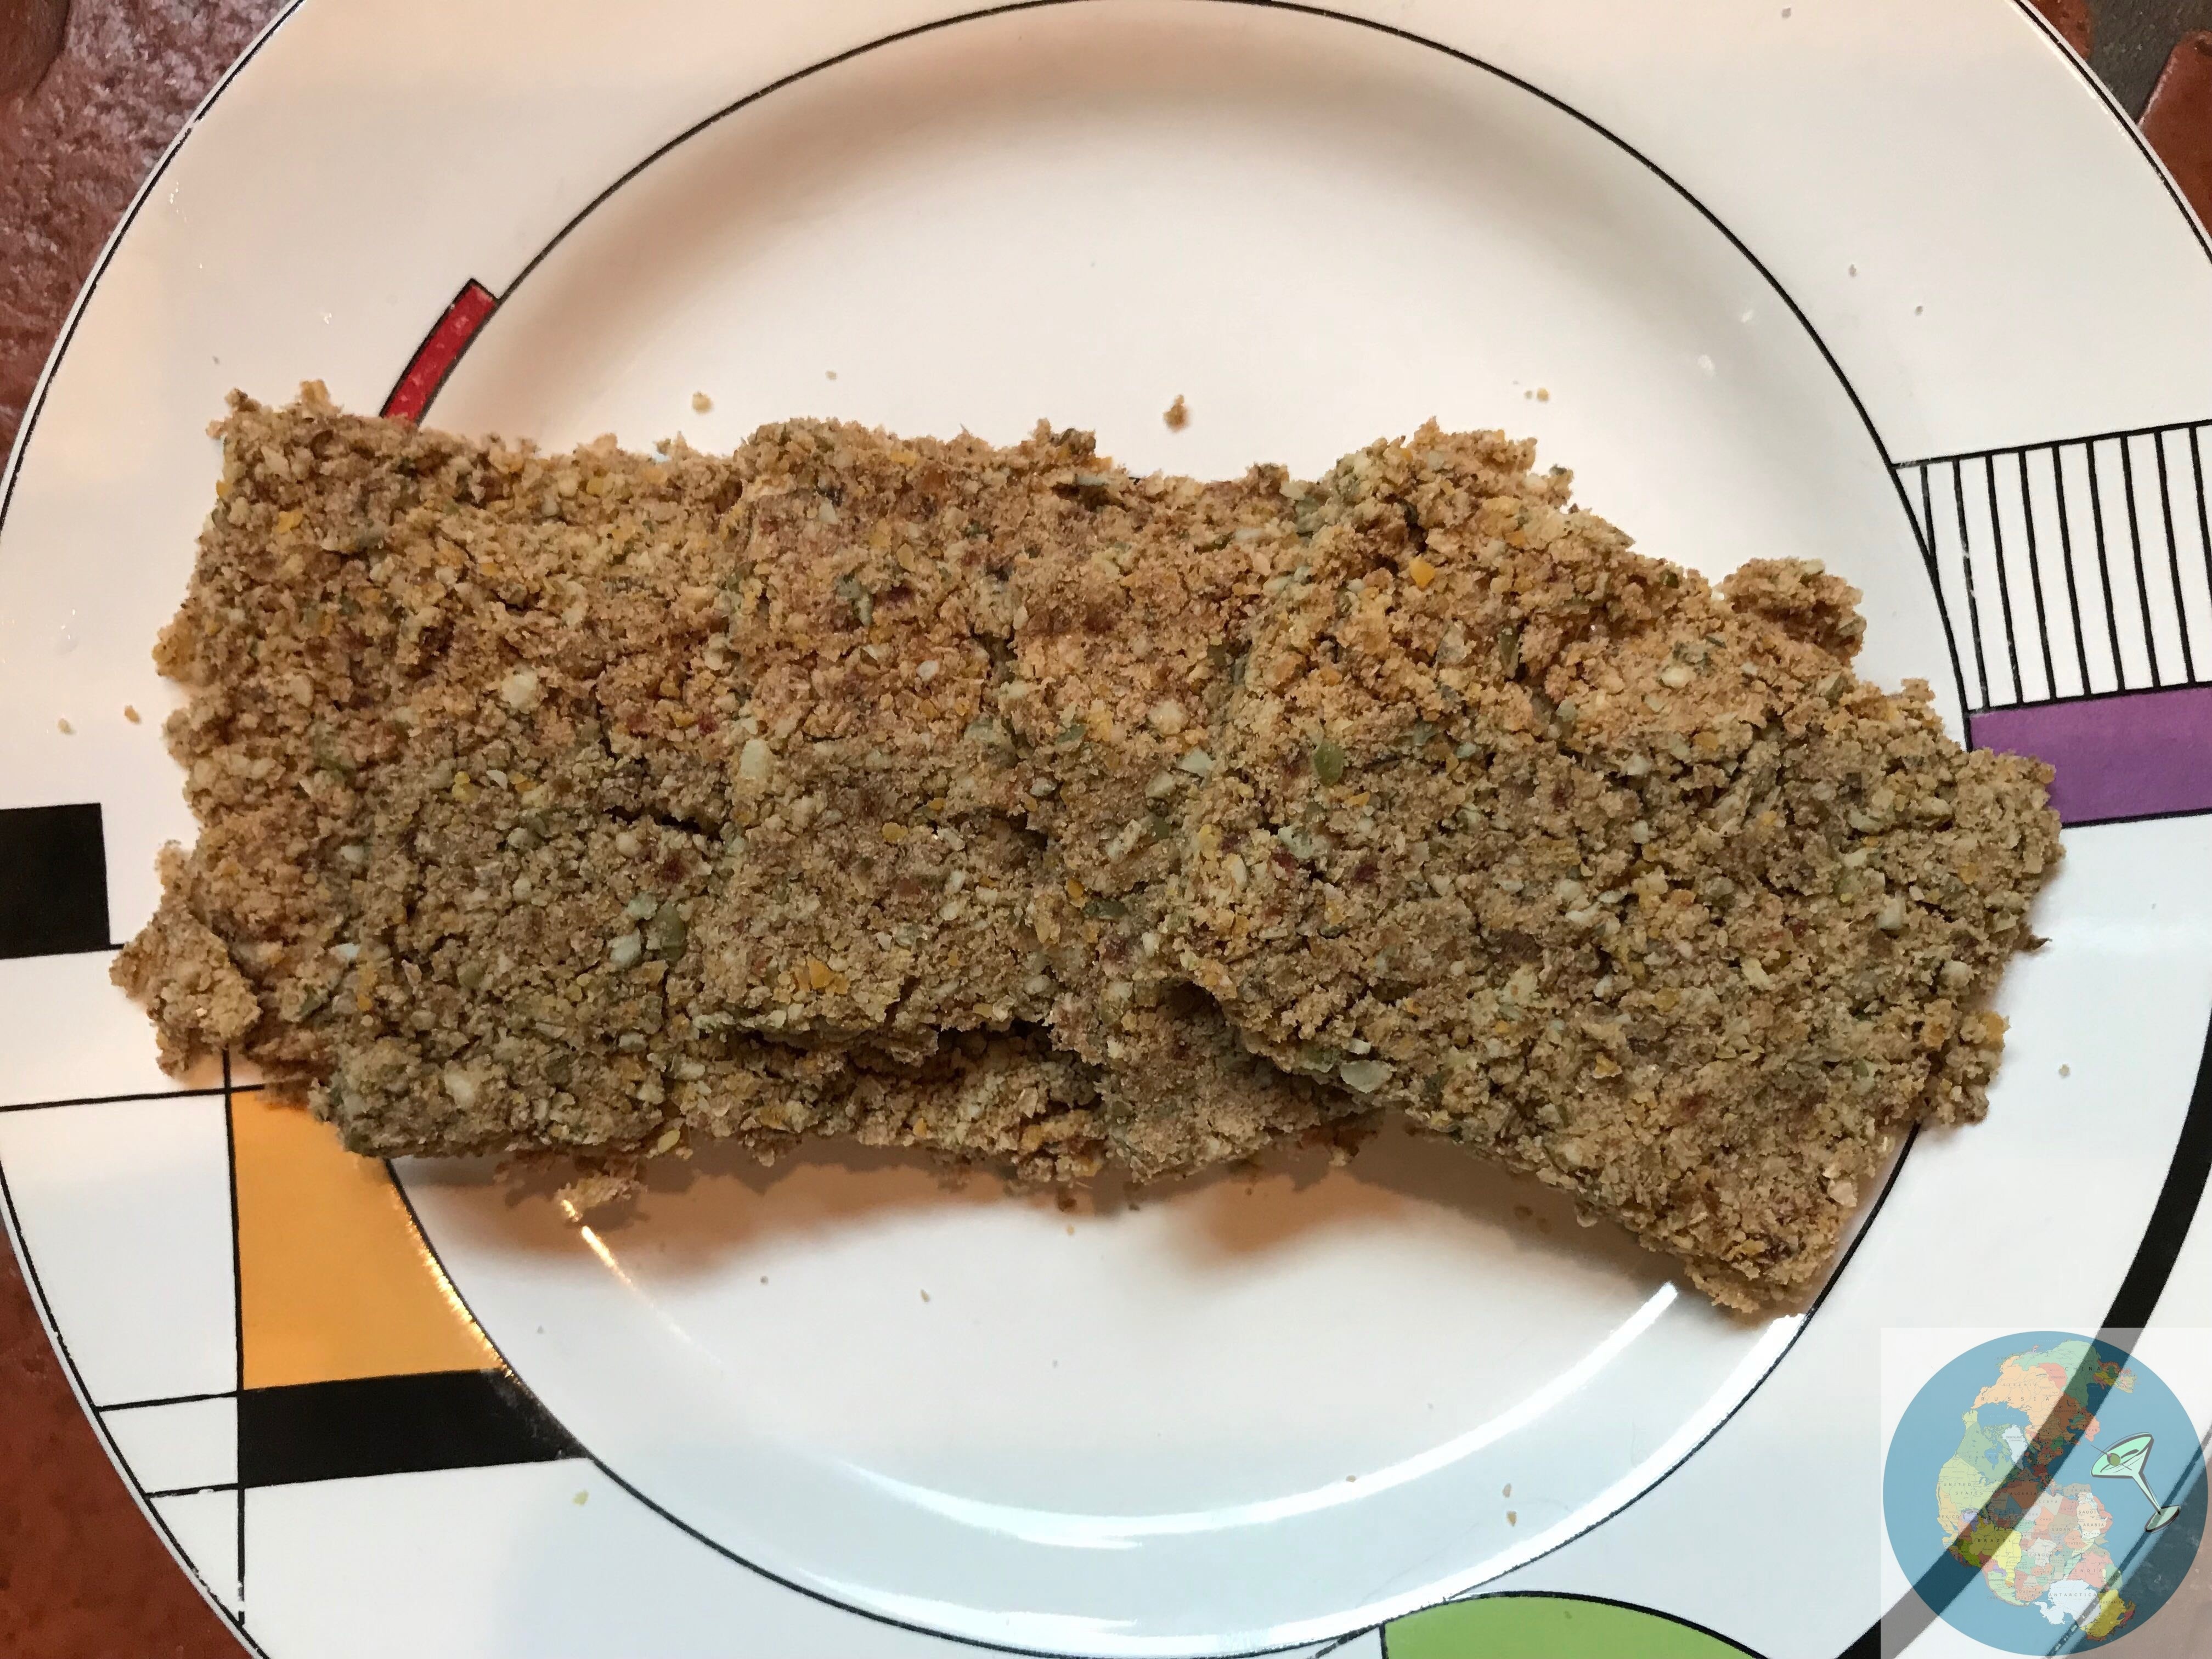
The texture is a little “bready”: so you can also halve the recipe and spread even thinner on the silicone mat to the same area and bake for the same amount of time (3 hrs) at 170 F. See picture at bottom.

1. Seeds/Nuts (soak in 1 tsp Himalayan sea salt and plenty of water for 12 hours to activate):  3/4 cup sunflower seeds [or pecans or almonds] + 1/2 cup pumpkin seeds + 1/8 cup chia seeds + 1/8 cup poppy seeds + 1/6 cup flax seeds [or blend of seeds & ancient grains (see picture)].
2. Drain the soaking seeds. Process with the following ingredients till well blended and pliable.
— 1  cups rolled oats + 1/2 cup beet juice pulp +
— 1/4 cup fresh lemon juice [or lemon flavored balsamic] + 1/4 cup EVOO + 1 tbsp psyllium husks + 1 tbsp fresh beet juice + 1 tsp Himalayan salt
3. Spread thin on a silicon mat (approximately 18 inches X 12 inches) and bake directly on a wire rack at 170 F for 3 hrs, checking after each hour.

Thinner version (1/2 the Beet Bar recipe):

Cacao-Orange Bar: A fragrant bar that will blow your mind- using the classic combination of chocolate and orange.
1 cup pecans (soaked with 1/2 Himalayan salt for 8 hrs) + 1/2 cup flaxmeal + 2 tbsp psyllium + 1/8 cup cacao powder + zest of 1 orange + 1/2 tsp vanilla essence (to kill the earthy flaxseed flavor) + dash salt + 1/2 cup dates (soaked in orange juice for 30 mins)
Process as the recipe above adding the orange juice of the soaking dates till it holds together. Spread thin in a silicon mat and place on a wire rack. Bake at 175 F for 2 hrs. Check after the first hour and then every 30 mins. Let cool overnight.

Plantain Wafers: Plantain is one of my absolute favorites! Inspired by my Mom’s kadali kofta and Pamela’s Peurto Rican Mofongo, this wafer is bound to steal your heart! The fennel gives a nice anise-accent.
1. Steam three green plantains (not sweet ones) with skin for about 10-12 minutes. Peel while still warm.
2. Run in a processor the steamed plantains with 1 cup chopped fennel +3 tbsp flaxseed meal + 1 tbsp oil (coconut oil) + 2 pods of garlic + salt and pepper to taste. Process till it holds together when pressed into a ball.
3. Make little balls and dot a teflon or silicon base. Flatten and roll thin. [Easy to place another teflon sheet on it and use a wine bottle, if you can’t access a rolling pin.]
3. Bake at 175F for 2-3 hrs until fully dehydrated.
4. Pamela’s Sweet-Sour-Hot Sauce: I am not a big fan of raw garlic, but I will make an exception for this one: the garlic mellows in the powerful agave and cider medium. Mix 1/4 cup agave + 2 tbsp apple cider vinegar + 1 tbsp (or to taste) cayenne pepper + 1-2 pods of finely crushed garlic + salt to taste.

Chipotle Corn Wafers: Influenced by Rachel Carr’s book Modern Raw. The wafer is fantastic!
1. Run in a processor into a soft paste: 2 cups corn kernel + 3/4 cup flaxseeds pulsed into meal + salt + 1/2 tsp cumin seeds +1 tsp chipotle powder + salt to taste + juice of 1/2 lime.
2. Spread thin on two teflon sheets.
3. At 175 F for 2-3 hrs until dehydrated. No need to even flip.
4. Break off the wafers into artisan pieces and serve.

Granola: Influenced by Sara Dickerman’s Dried and True. I replace egg whites with homemade whey. The latter is an even better binder.
1. 1 1/2 cups rolled oats (not quick-cooking) + 1/4 cup toasted coconut slivers (called chips) + 1/4 cup toasted slivered almonds + + 1/4 tsp cinnamon powder + 1/4 tsp cardamom powder + dash sea salt
2. Tignum fudge: 1/8 cup coconut oil + 1/2 tbsp butter + 1/8 cup condensed milk + 1 oz whey + 1 tbsp brown sugar
3. 1 oz cold whey, beaten well with wire whisk (or 1 egg white)
4. Mix the tignum fudge ingredients on low heat in a small pan for a few minutes until well-mixed and pour over the rest of the ingredients. Fold in the beaten whey. Spread on silpat on a wire rack.
5. At 175 F for 4 hrs until dehydrated. No need to even flip.


Aunty’s Pesarattu, Taco-style

Recently Aunty invited me to a pesarattu party: the making was as delightful as the eating. Aunty with her accumulated knowledge, attention to details and warm personality is a force to reckon with- I felt privileged just to be alongside her. Her pairing of the pesarattu with equally delectable upama and an array of chutneys build up to a crescendo in every bite! You may be familiar with the iconic dosa, a fermented rice crepe. Pesarattu is similar, but with moong lentils (sans fermentation).

The languages, the scripts, the schools of music & dance: each is a testimony to the depth and diversity of Indian history. So say even the scientists studying the collective DNA of its denizens. And, the spectacular array of food– ingredients, combinations, techniques– is yet another axis, in my mind.

I present the pesarattu here with a twist. As outrageous as it may seem to you, serving this dish taco-style brings out its resplendence as it was meant to be– every morsel bursting with a bit of pesarattu, a dollop of upama, a dash of chutneys– enabled by just your tactile fingers! And, tilt your head, not the taco, as my Mexican friends advise. Enjoy!

Special tools:

Taco stands for serving; non-stick pan & spatula for making the crepe; processor for making the batter and chutney.

Ingredients

  • Pesarattu batter: In processor: 1 cup green moong (with skin) + 1/2 cup yellow moong soaked in plenty of water for 6-8 hrs & drained + salt to taste + 1 tsp whole cumin seeds + 1 tsp grated ginger + 1 red chilli + little water (enough to get the processor going)
  • oil to make the pesarattu
  • Upama (recipe below)
  • Ginger-tamarind Chutney (recipe below)

Method

Make the chutney and upama as below. Make about a dozen pesarattu/crepes following the instructions therein.

To serve: place the pesarattu on the taco stand. Brush lightly with the chutney. Add a generous dollop of upama as filling. Serve hot.

Notes, hints, tips:
  1. Actually, the pesarattu, all by itself, is quite delicious and complete. I have been carrying this on long roadtrips to avoid highway food.
  2. Using split moong lentils (both with skin on and without) drastically reduces the soaking time to just 1-2 hrs. You could use the bite-test, to gauge its readiness for the grinder.
  3. Crepe making: It is easier to use a non-stick pan. However you could use the cast iron griddle (remember the dosa-stations at some restaurants or food trucks?). Also, feel free to use a timer, once you get the timings of your griddle & stove so that you are not left nursing a hot griddle by an even hotter stove. Follow these steps closely.
    (a) Thoroughly heat the bare iron-griddle –2 to 3 mins– till splashes of water on the grid surface immediately sizzle away.
    (b) Brush oil on the surface and remove excess by wiping lightly with kitchen paper towel; continue to heat for another 30 secs.
    (c) Use a heat-proof ladle. Make the crepe by placing a ladle of batter and spreading it with circular movements of the ladle till a thin layer is formed. The diameter of the circle will depend on the amount of the batter. For a taco-size-serving, use about 1/4 cup of batter.
    (d) Cook on low-medium heat till the edge releases (few minutes). Gently ease a sturdy spatula under the crepe and lift off the griddle.

    Avoid the temptation to add excess oil to the crepe: it is not required and also less oily on the hands when using your fingers. I can make about a dozen without adding any extra oil; just drawing upon the hot griddle and the very first step ((b) above) of oiling the surface.

    [I use this technique also for the Punjabi Waffles– when I don’t use the waffle maker.]
  4. Upama: I give a slight tweak to Aunty’s recipe- just to make up for my lack of talent:
    (a) In a wok, dry roast 1/2 tbsp of urad dal + 1/2 tbsp chana dal for about 2 minutes. Add 1 tbsp oil and 1/4 tsp whole mustard seeds and few curry leaves. When the seed sputter, add 1 crushed red chilli + 1/2 tsp grated ginger. Saute for 2 mins. Add about 1/8 cup of water and cover. Cook till the water evaporates and the lentils are soft.
    (b) Add 1 cup coarse semolina + salt to taste. Mix thoroughly. Meanwhile heat 4 cups of water (I usually do this in a microwave for 4 minutes).
    (c) Add the hot water to the wok, mix, cover. When thoroughly heated (and it may begin to bubble like lava) turn off the heat.
    (d) Add 1 tbsp of ghee on top. Leave it covered. Mix just before serving. Indeed, this is the magical touch. Believe me, 1 tbsp goes a long way.
  5. This chutney is a fascinating recipe using fenugreek (methi) seeds and ginger. A perfect balance comes from tamarind and a dash of sweetner. I use the Thai tamarind paste.
    Chutney making: Again, I give a slight tweak to Aunty’s recipe:
    Toast 1 tbsp methi seeds. Add 1 tbsp oil, 1/4 tsp mustard seeds + 1/2 red chilli and let the mustard sputter. Remove from heat and add 2 inch long ginger root very thinly sliced + 1/2 tbsp tamarind paste + a pinch sugar + salt to taste.

    The processor really struggles to make the chutney, unless you have the Indian/Southeast Asian special-purpose ones. I would suggest using a pestle and mortar lightly on the seeds only and then a processor with the rest of the softer ingredients. Yes, it seems like a bit of trouble; but worth the results!
  6. Aunty also served a heavenly coconut chutney. Since this requires fresh coconut, which is rather hard to come by, I omit it here. Feel free to use store-bought one and use it alongside the other chutney.
  7. Below, a non-taco-style served pesarattu with upama and chutney on the side.

Jackfruit Callaloo Parcels

Callaloo is the Caribbean name for amaranth greens. Isn’t that a cute name? In season in summer, the cooking greens has the aroma of Asian poi saga.

The large, pliable leaves beg to be bundled and the payload here is the oxymoronic vegetarian-meat jackfruit. Spiced with a contrasting Tunisian Harissa and Italian pesto, these simply made parcels are irresistible!

Special tools:

None.

Ingredients

  • 1 bunch of Amaranth greens
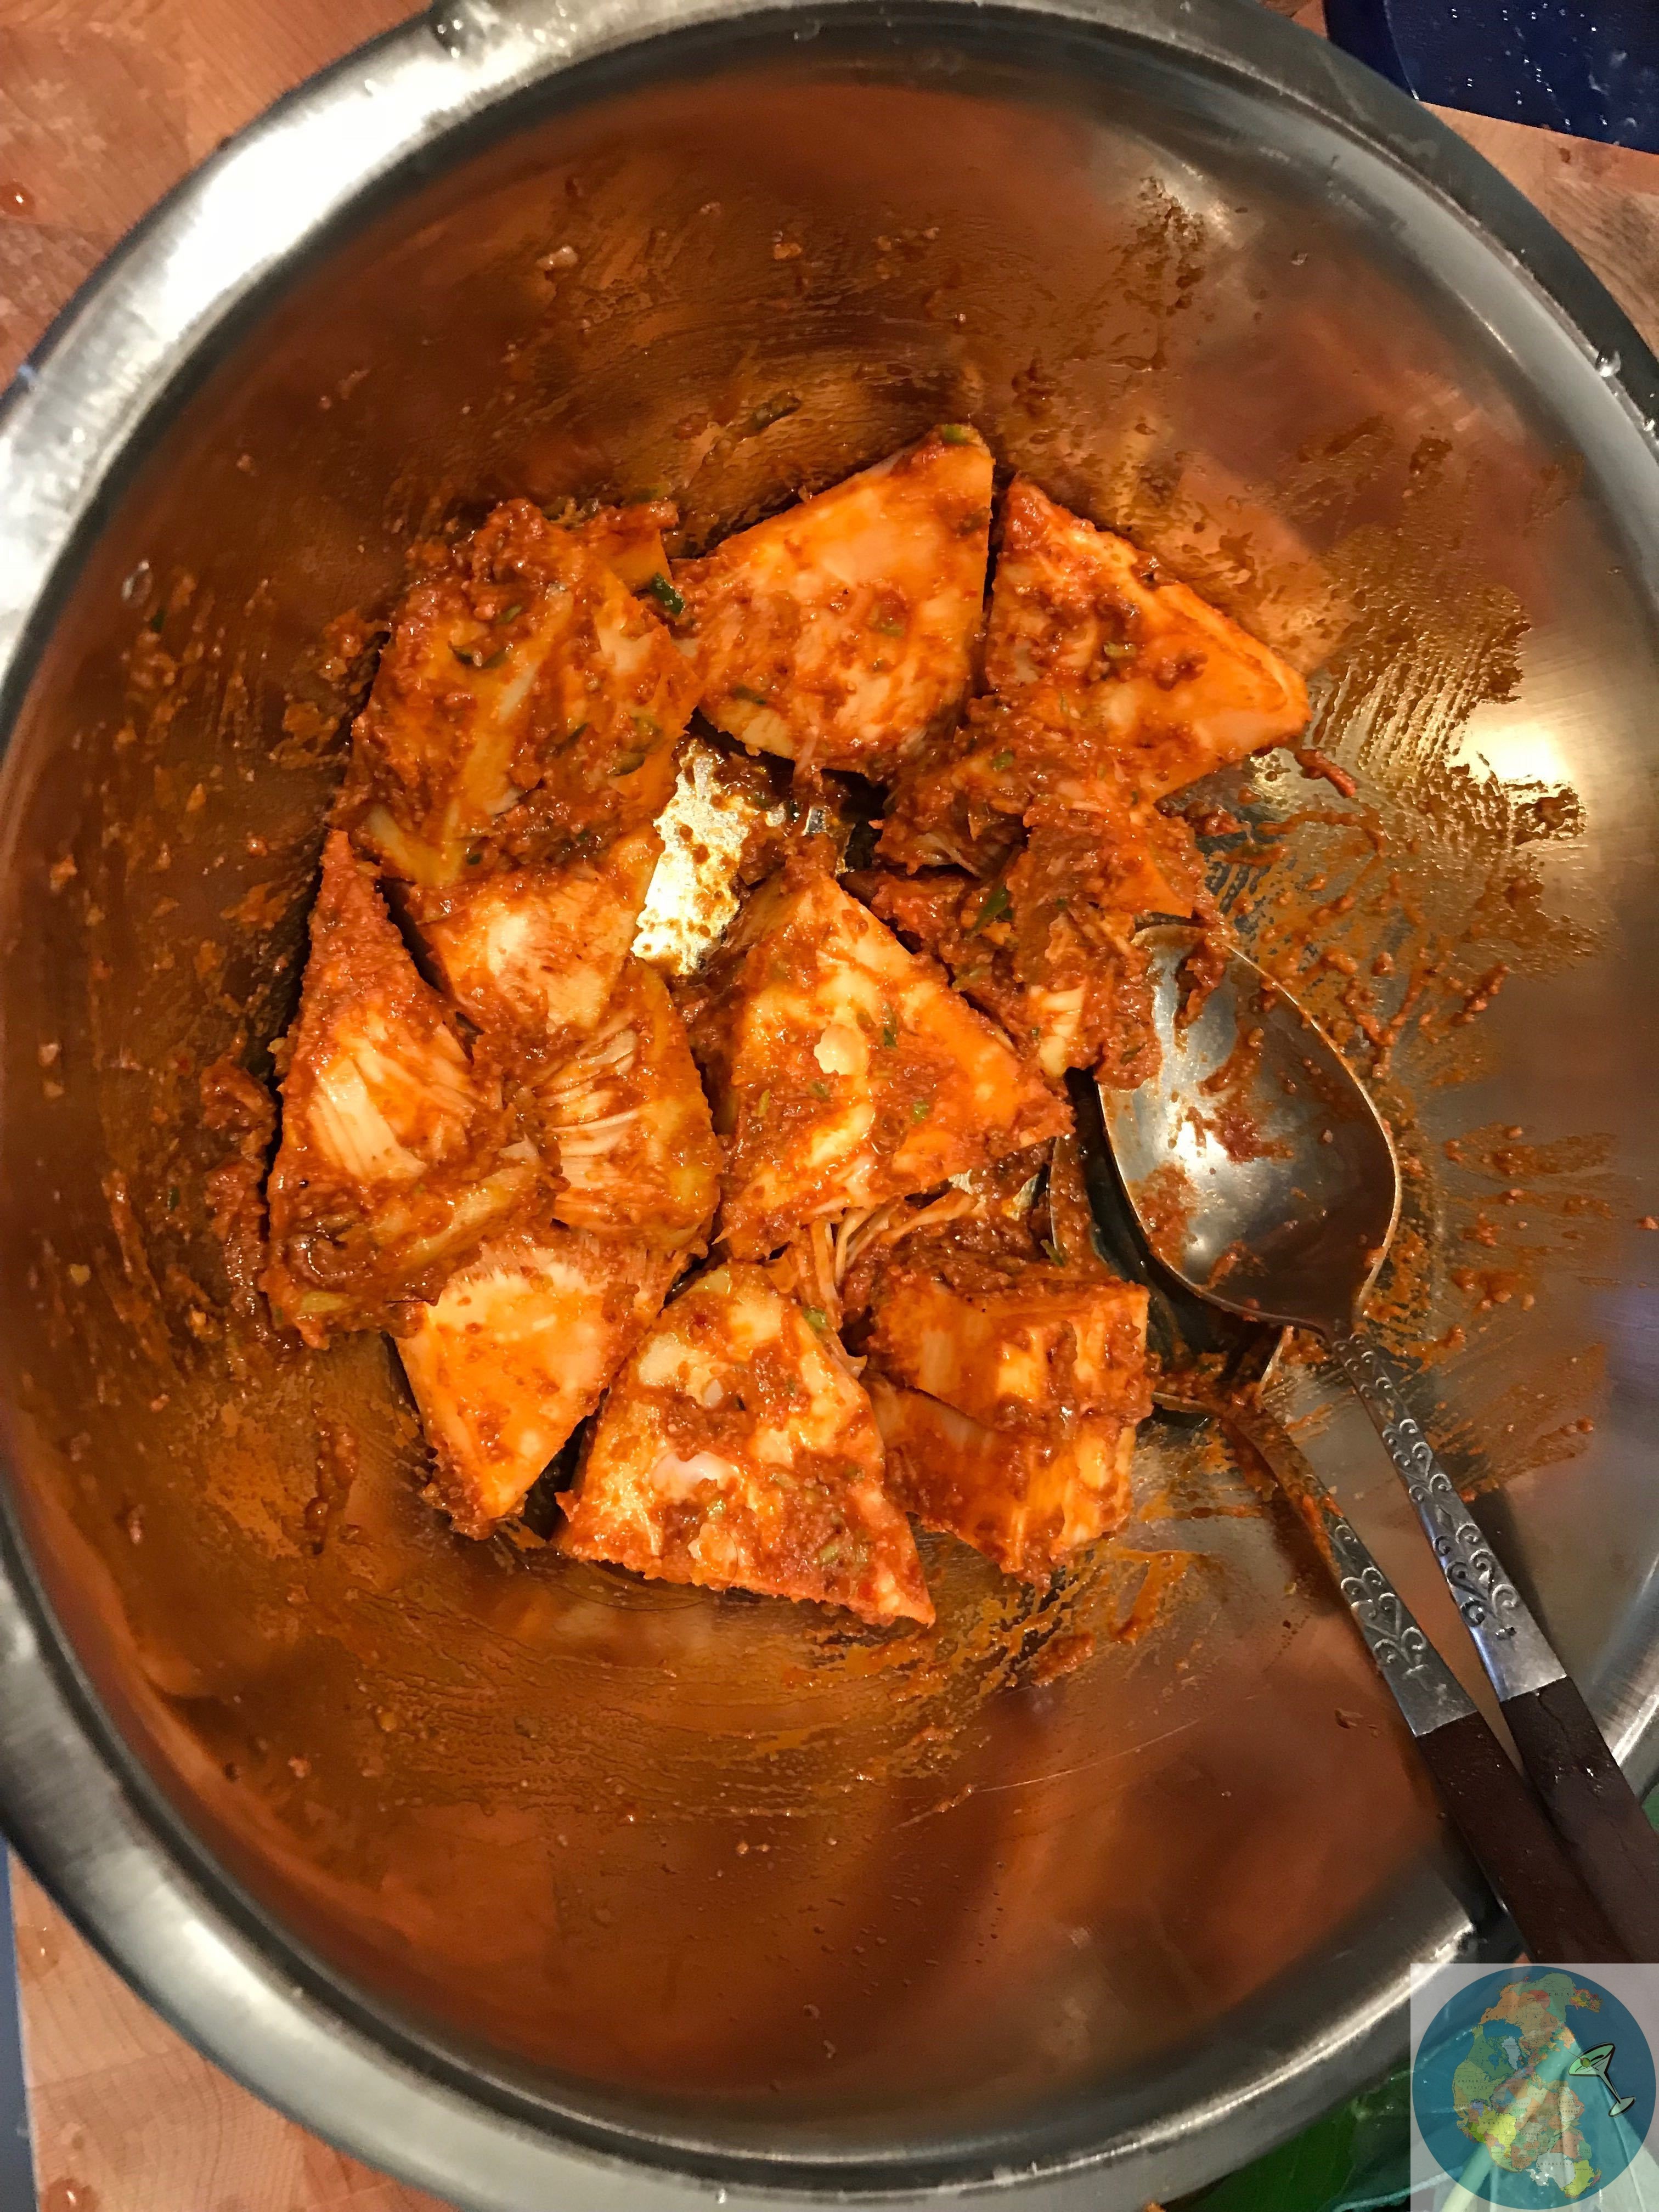
  • 1 can (500 gm) of jackfruit, drained and tossed in 1 tbsp Harissa + 1 tbsp pesto + salt to taste
  • 2 tbsp EVOO

Method

Wrap each piece of jackfruit in a leaf and place the fold in the underside. Heat 1 tbsp EVOO in a large bottomed pan. Gently place each parcel, fold side down on the platter. Drizzle the rest of the EVOO on top. Add about 1/4 cup water (it should just be a thin layer at the bottom and not drown the parcels). Cover. Saute-simmer for 15 minutes on medium heat till done (and almost all of the liquid has evaporated). Serve hot.

Notes, hints, tips:
  1. The canned jackfruit is available in Asian stores (mainly product of Thailand). Fresh jackfruit may be available in the stores; but keep in mind that it is quite cumbersome to handle.
  2. I used store-bought Harissa and homemade pesto.